The "mill and sinter" or "mill and crystallize" process is only the beginning for a high-end monolithic restoration. The final, critical step is the creation of a lifelike, highly polished, and characterization surface. A meticulous finishing and polishing protocol is what separates a good restoration from a great one, impacting aesthetics, plaque resistance, and opposing tooth wear.
The Science of the Surface: Why Polish Matters
An improperly finished ceramic or zirconia surface is microscopically rough. This roughness leads to:
-
Accelerated Wear: Abrasion of the opposing dentition.
-
Plaque Retention: Increased risk of peri-implantitis or caries at the restoration margin.
-
Staining and Discoloration: Pigments from food and drink can embed in surface imperfections.
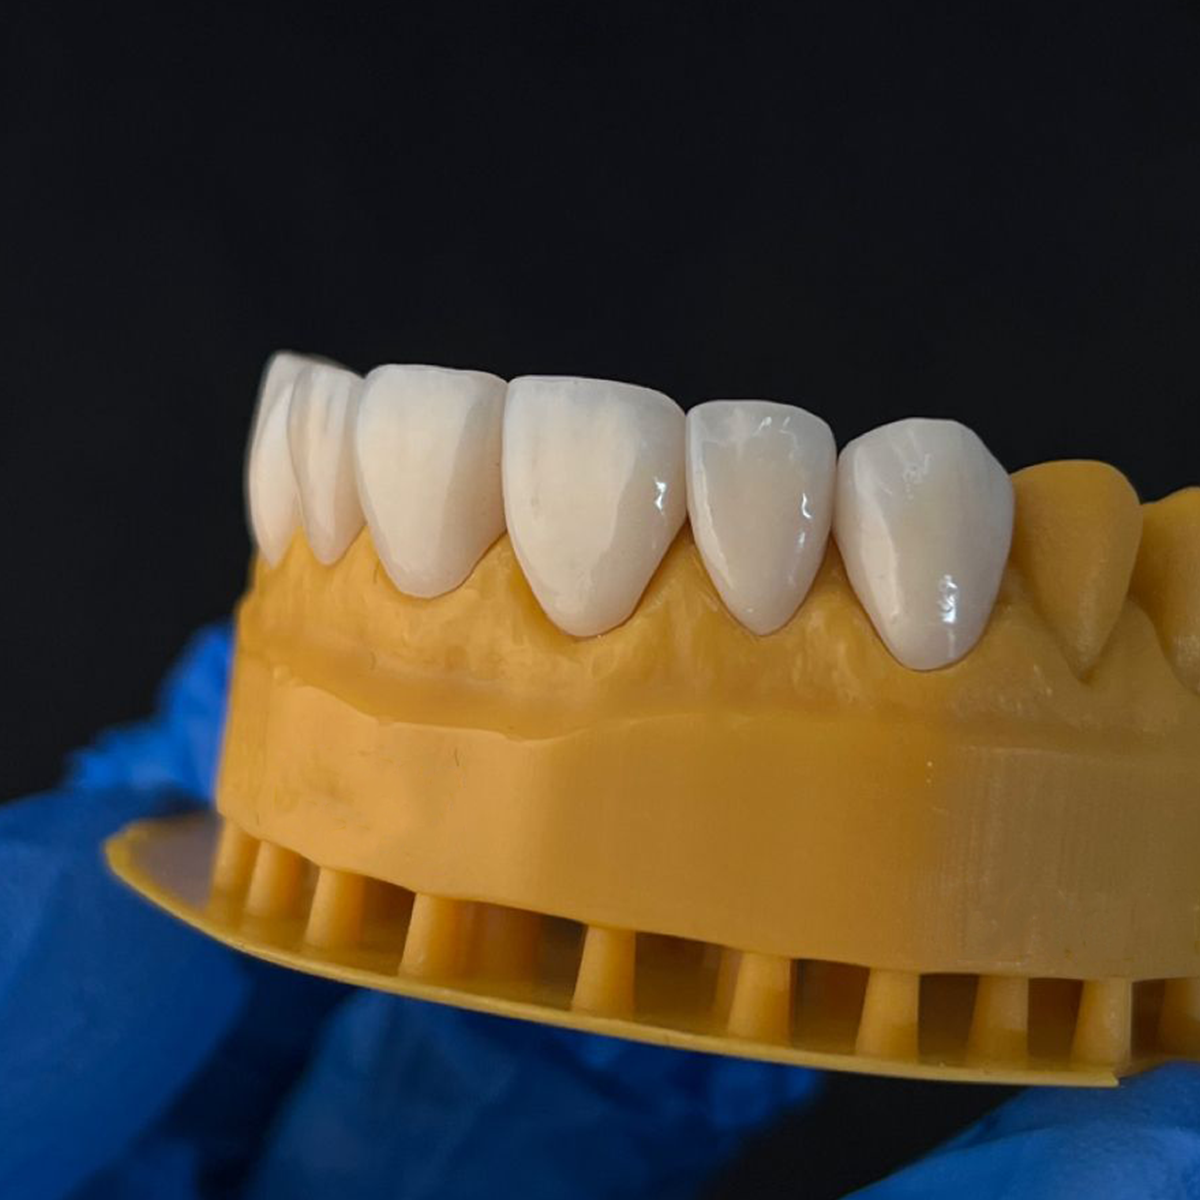
A properly polished surface is glossy, hygienic, and kind to the natural dentition.
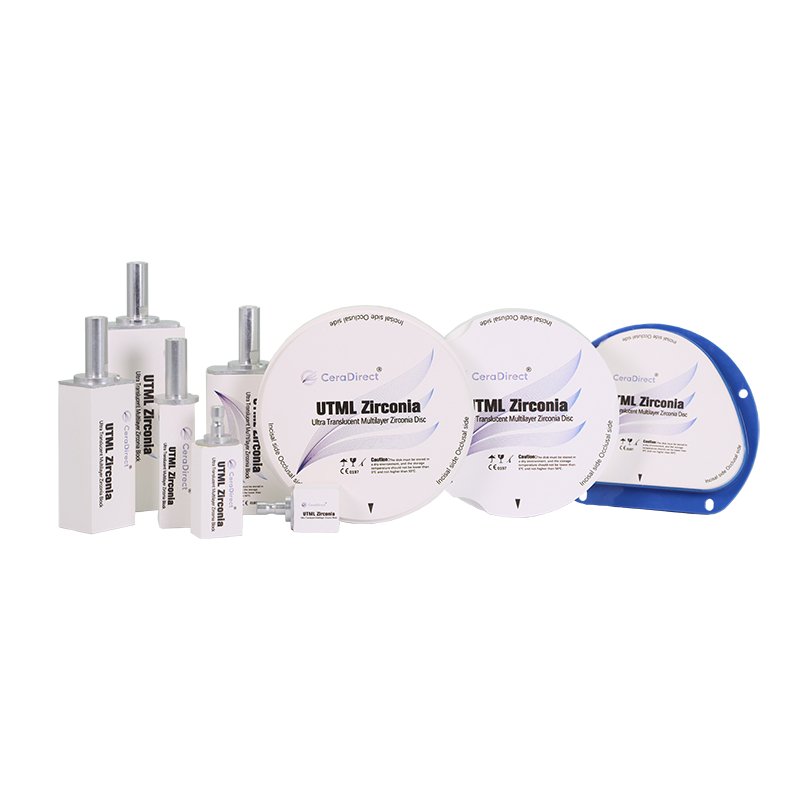
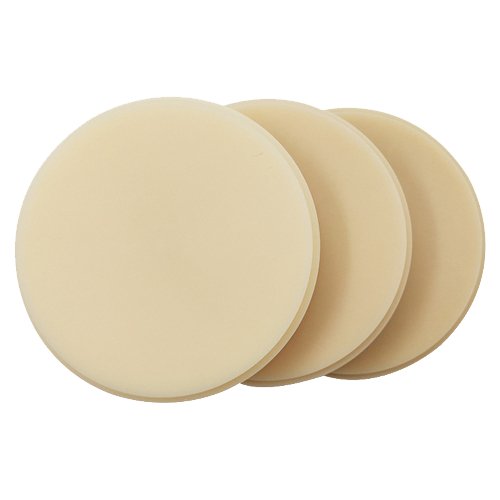
A Sequential Protocol for High-Strength Zirconia
Polishing zirconia requires diamonds. The goal is to refine the surface step-by-step without introducing deep scratches.
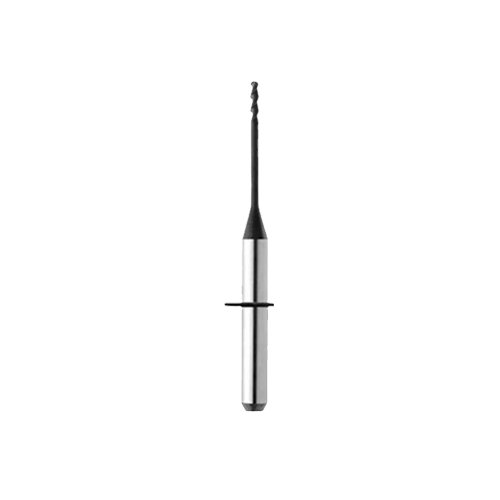
-
Contouring & Gross Reduction: Use fine-grit diamond burs (e.g., red-stripe, ~30-40µm) to adjust occlusion and contour.
-
Pre-Polishing: Use dedicated zirconia polishing points or wheels with increasingly fine diamond abrasives (e.g., 15-20µm). This step removes the scratches from the first step.
-
High-Gloss Polishing: Use a dedicated high-gloss zirconia polish, often a diamond-impregnated rubber wheel or a specialized paste. This step brings the surface to a enamel-like luster. Note: Glazing is an aesthetic alternative but does not always achieve the same wear characteristics as a mechanical polish.
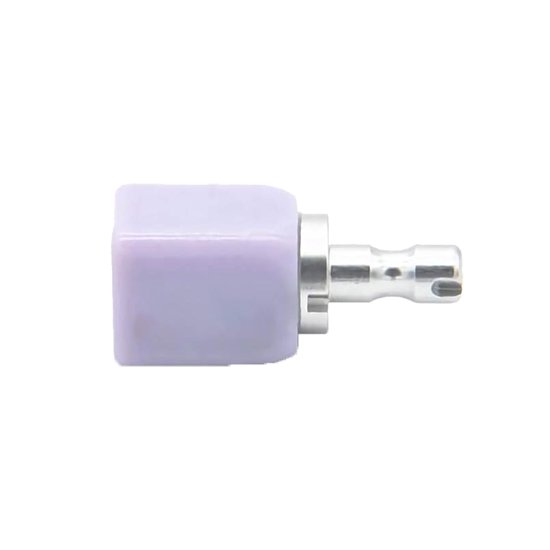
A Sequential Protocol for Lithium Silicate Glass-Ceramics
Glass-ceramics are softer and require a different approach, often starting with diamonds and finishing with polishing oxides.
-
Adjustment: Use dedicated ceramic finishing diamonds.
-
Pre-Polishing: Use silicone-based points or wheels impregnated with aluminum oxide or diamond.
-
High-Gloss Polishing: Use a bristle brush or felt wheel with a specialized diamond or cerium oxide polishing paste. This achieves the famous "wet look" gloss of high-quality ceramics.
The Golden Rule: Do Not Skip Steps
The most common error is jumping from a coarse abrasive directly to a high-gloss polish. This simply polishes the peaks of deep scratches, leaving the valleys intact. Each step must use an abrasive fine enough to remove the scratches from the previous step.
Conclusion
Finishing and polishing is not an afterthought; it is an integral part of the fabrication process that demands a systematic, disciplined approach. Investing in the right sequence of tools and materials pays dividends in the form of clinically superior and aesthetically outstanding restorations.